Grab your tool and squeeze the trigger. Sinking a fastener should never end in disaster. Unfortunately, incorrect drill settings frequently lead to catastrophic project failures. You risk stripped fasteners, shattered tile, cracked hardwood, and burned-out motors. These mistakes waste expensive materials and ruin reliable equipment.
Mastering the interplay between rotational speed (RPM) and rotational force (Nm) solves this problem entirely. This proper balance protects delicate surfaces and significantly extends tool life. We designed this guide to help you perfectly match cordless hammer drill torque settings to specific materials like wood, steel, and concrete.
You will learn exactly how to configure your equipment for every possible task. We will provide a definitive framework to inform your future purchasing decisions based on actual workload requirements. Stop guessing your gear settings and start drilling with precision.
Key Takeaways
The "Mechanical Fuse" Rule: The numbered clutch dial prevents damage; always start at the lowest setting and adjust upwards incrementally.
The Balancing Act: High speed requires low torque (drilling soft materials); low speed requires high torque (driving large fasteners or boring dense materials).
Hammer Mode Constraints: Hammer functionality is strictly for masonry; using it on wood or steel will destroy the workpiece and the drill bit.
Safety Imperative: Drill and Hammer modes disable the clutch entirely; side handles are non-negotiable for high-torque applications.
Decoding the Hardware: Speed Gears vs. Torque Clutch
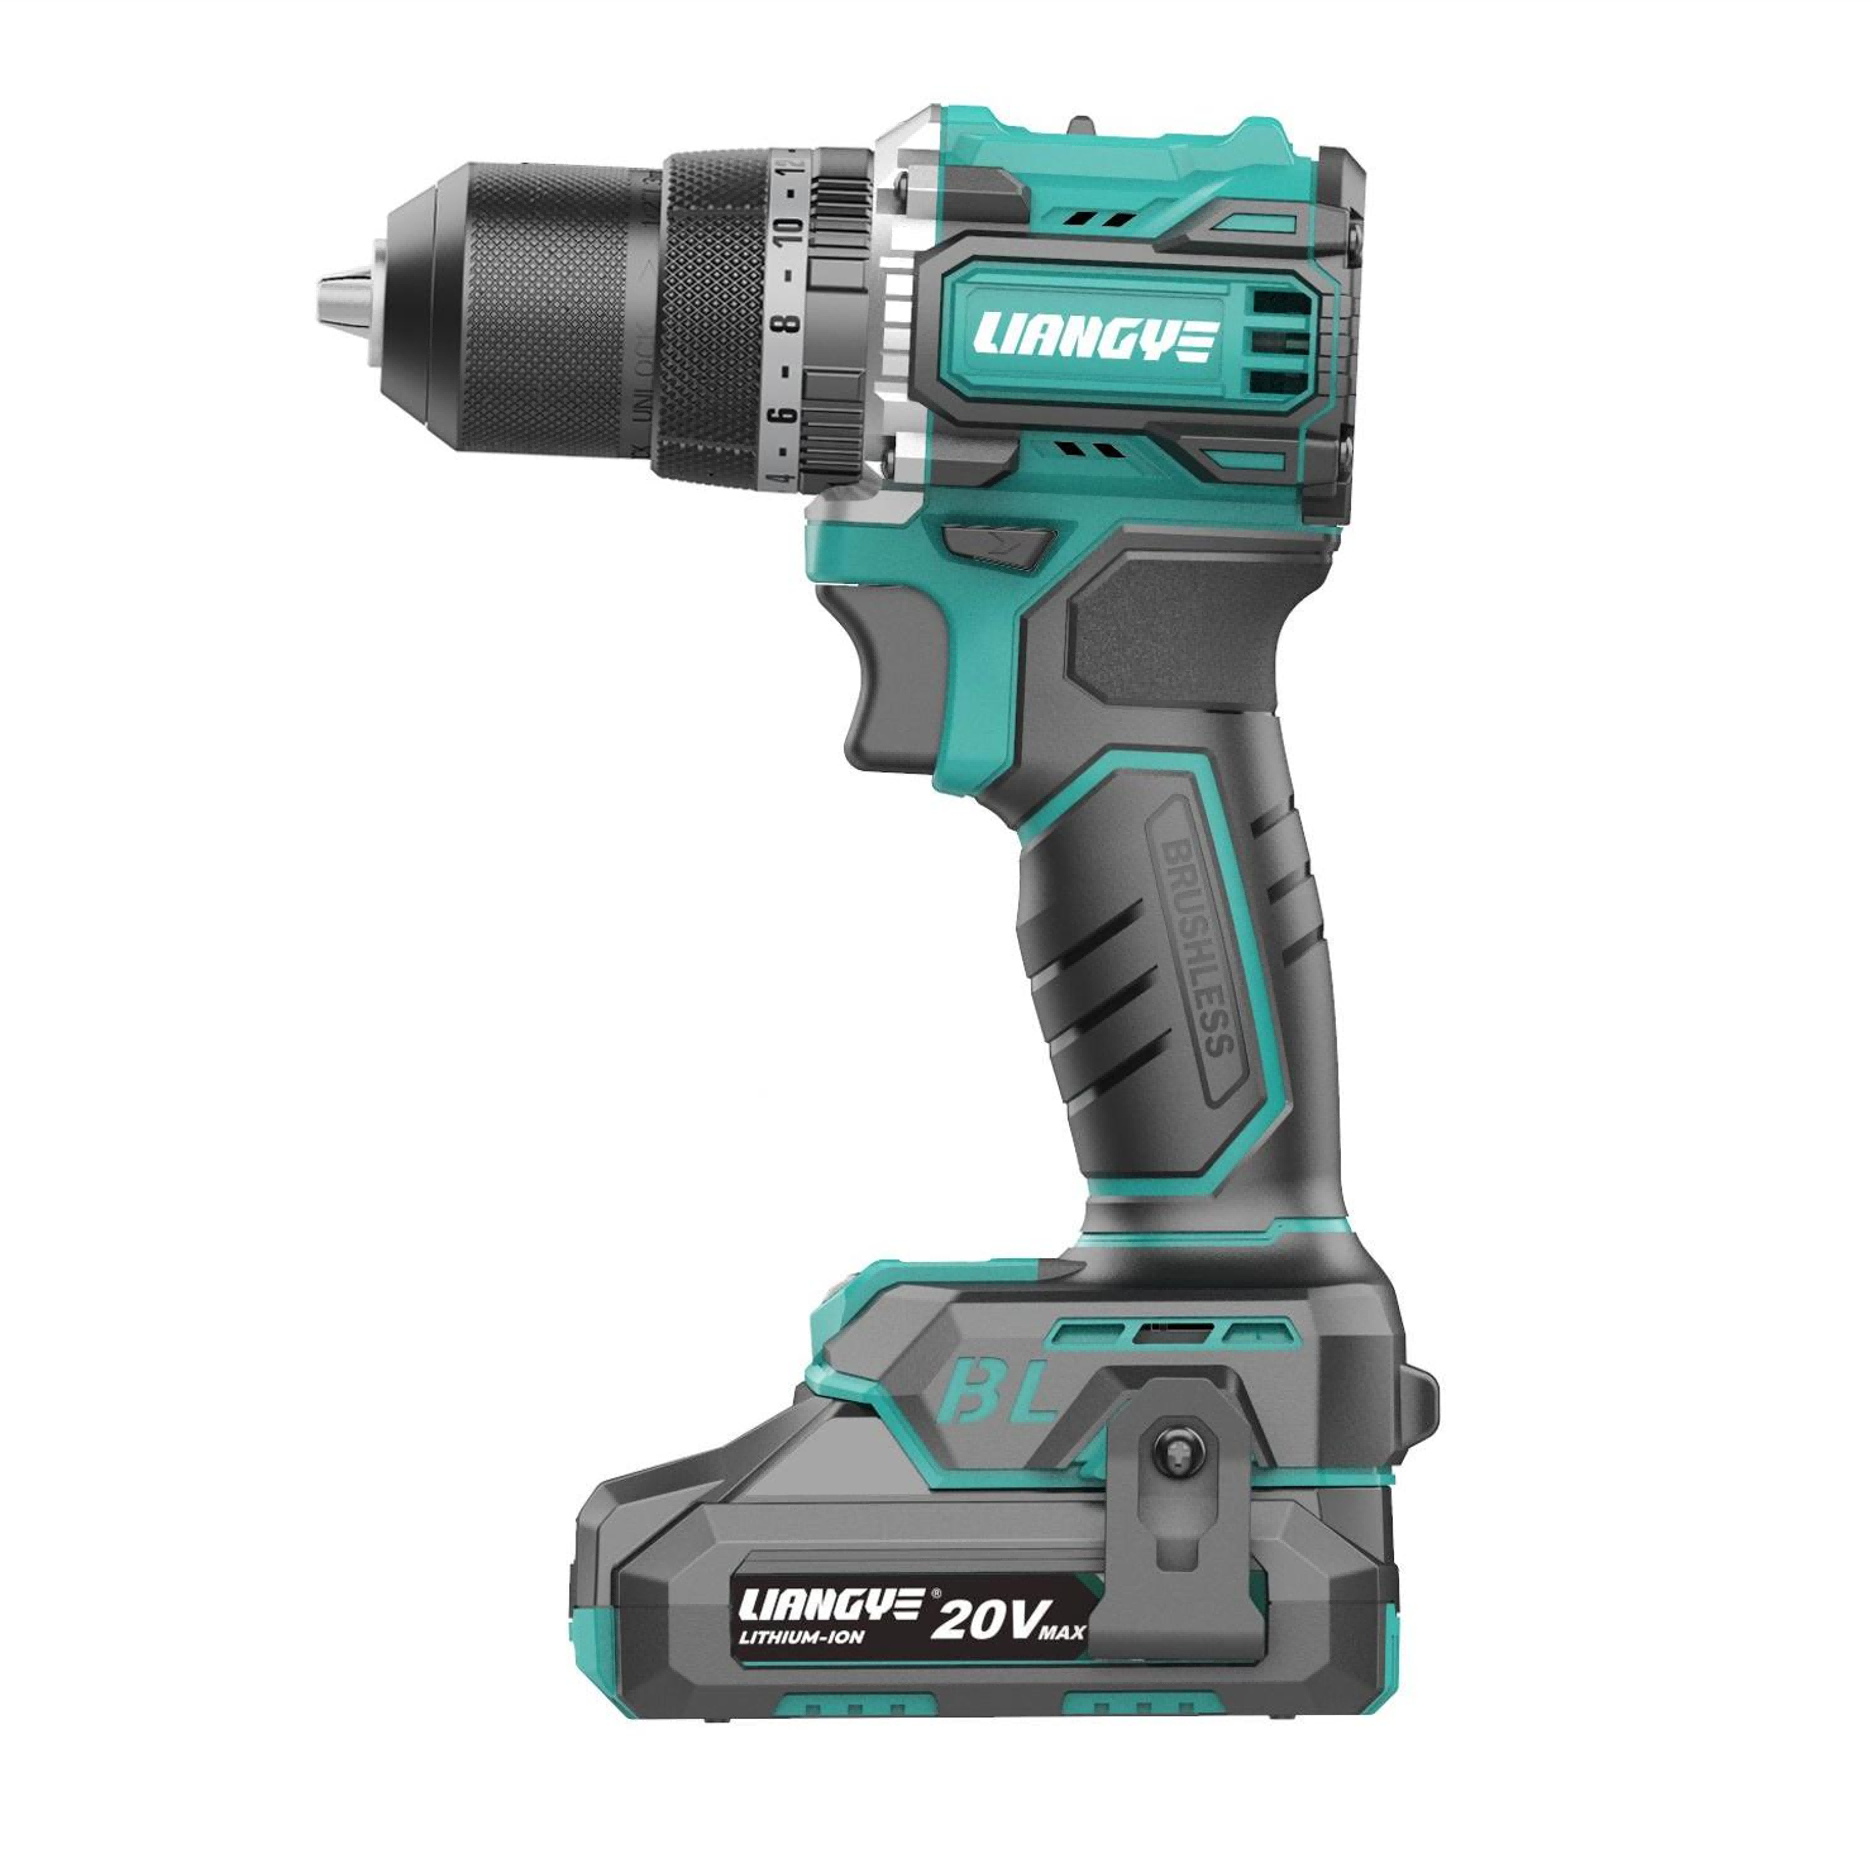
Modern drills feature dual control systems. You must understand how they interact to achieve professional results. Many users confuse the physical speed switch located on top of the tool with the numbered collar behind the chuck. They perform completely different functions. Let us break down exactly what happens inside the tool.
Physical Gearbox (Speed)
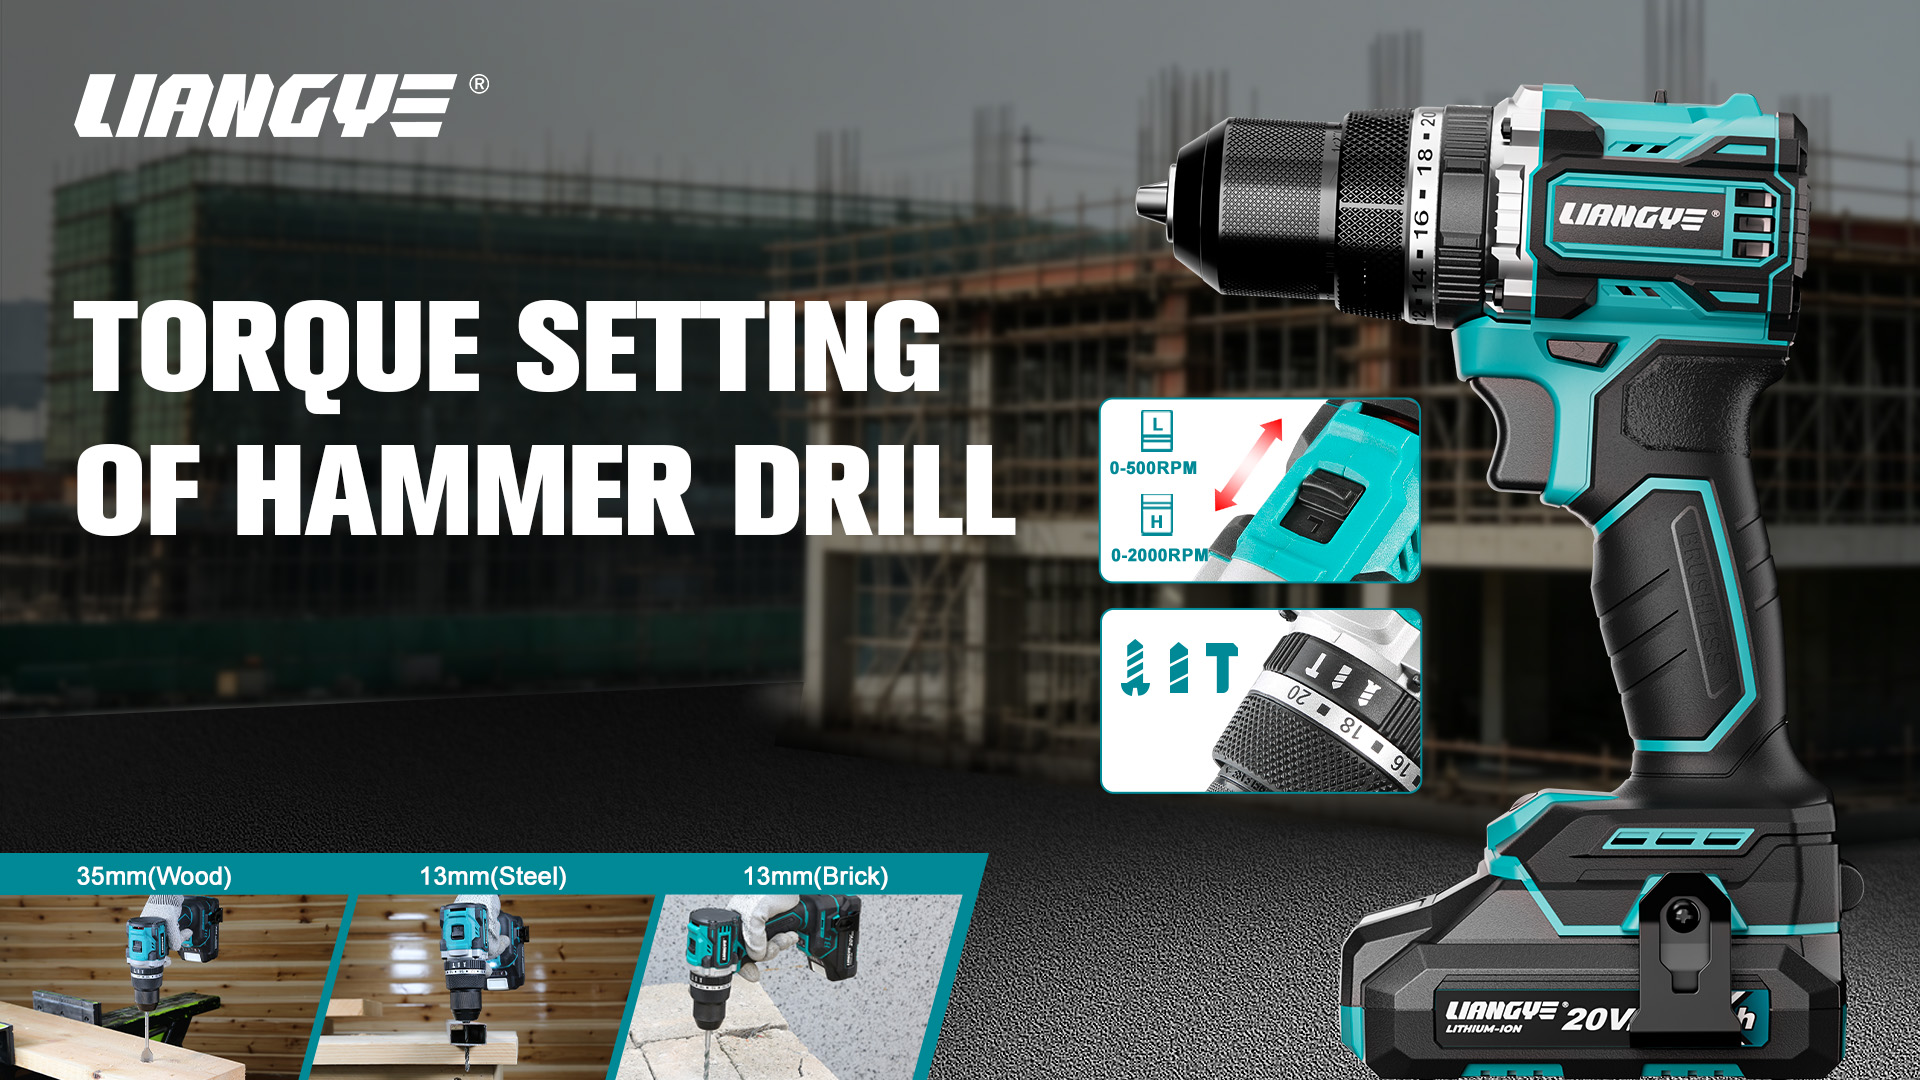
The speed selector physically shifts gears inside the planetary gearbox. This switch dictates how fast the chuck spins. It also establishes the maximum available twisting force. You typically choose between two or three distinct gear ranges.
Gear 1 (Low Speed/High Torque): This setting maxes out at a lower RPM. You gain immense twisting power. It is designed for driving large screws and maintaining heavy-duty control. Use this gear when sinking long lag bolts into thick studs.
Gear 2/3 (High Speed/Low Torque): The chuck spins extremely fast. The torque drops significantly. Manufacturers engineered this mode exclusively for drilling clean holes. High speeds slice through soft materials effortlessly.
The Numbered Collar (Torque/Clutch)
Look at the rotating ring behind the chuck. This numbered dial controls the internal clutch. The clutch acts as a mechanical safety mechanism. It defines the exact resistance threshold where the motor disengages. The tool will stop spinning the bit and emit a loud clicking noise.
Applying maximum cordless drill torque to drive a basic screw is a terrible idea. You will drive the screw straight through the material. Follow a strict implementation rule instead. Use trial and error. Start low on the dial, perhaps setting 3. Squeeze the trigger. If the clutch slips before the screw sinks, increase the dial by two clicks. Repeat this process until the fastener sits perfectly flush.
Special Modes (Drill & Hammer Icons)
Rotate the collar past the highest number. You will find a drill bit icon and a hammer icon. Engaging these symbols bypasses the clutch mechanism entirely. The mechanical fuse turns off. The motor forces continuous power into the bit regardless of physical resistance. Use the drill mode only for boring holes. Use the hammer mode solely for masonry. Proceed with extreme caution when these modes engage.
![Cordless hammer drill hardware and settings display]()
The Material-to-Torque Matrix: Wood, Steel, and Concrete
Different materials demand distinct physical approaches. You cannot use the same RPM and force for pine board and cinderblock. Applying the wrong setup guarantees ruined workpieces. We organized the ideal specifications into a practical matrix below. Reference this matrix before starting any new task.
| Material Type | Recommended RPM | Recommended Torque (Nm) | Operating Mode |
| Softwood (Pine, Cedar) | 800–1,200 | 20–30 | Drill / Clutch Mode |
| Hardwood (Oak, Maple) | 500–800 | 35–50 | Drill / Clutch Mode |
| Steel and Metal | 1,200–2,000 | 20–30 | Drill Mode Only |
| Concrete and Masonry | 400–700 | 50+ | Hammer Mode |
Softwood (Pine, Cedar)
Softwoods compress easily. The grain structure splits if you force fasteners too aggressively. You must rely on speed rather than raw power. Set your tool to deliver 800–1,200 RPM. Dial the resistance down to 20–30 Nm. This medium speed ensures clean entry. The low force prevents severe grain tear-out. You protect the surface finish.
Hardwood (Oak, Maple)
Hardwoods present dense, unforgiving fibers. High speeds generate immense friction here. Friction burns the wood and destroys your bit. Slow down. Use 500–800 RPM. Increase the force to 35–50 Nm. Low speed guarantees positional precision. The higher torque handles the dense fiber resistance effectively. You push through without burning the hole.
Steel and Metal
Metal behaves uniquely under pressure. You need speeds between 1,200–2,000 RPM. Keep the force relatively low at 20–30 Nm. High speed creates smooth, continuous cuts. You shave the metal away layer by layer. There is a crucial addition to this implementation. Always pair metal drilling with cutting fluid. Cutting oil manages severe friction heat. It prevents the bit from melting or snapping mid-task.
Concrete and Masonry
Concrete requires sheer destructive force. You cannot merely cut it. You must pulverize it. Set the speed low, around 400–700 RPM. Demand maximum power at 50+ Nm. You absolutely require hammer mode here. This task relies on low-speed torque combined with axial impact. High-quality results demand a dedicated concrete drilling cordless tool. Standard drill settings will just polish the concrete surface uselessly.
When to Engage Hammer Mode (and When It Will Ruin Your Project)
Hammer mode represents the most misunderstood feature on modern power tools. Many DIY enthusiasts assume the hammer icon simply means "more power." This misconception destroys projects daily. Hammer mode changes the fundamental physical action of the machine.
The Mechanics of Hammering
Standard settings provide smooth, rotational motion. Hammer settings change everything. They combine standard rotation with forward-striking force. Internal ribbed plates slip past each other. This creates rapid forward thrusts. The chuck delivers 20,000–30,000 beats per minute (BPM). This blunt force impacts the material directly.
Valid Applications
You only need this mode for masonry. Use it on brick, cinderblock, poured concrete, and unglazed tile. These materials consist of aggregates and cement. They resist slicing. The rapid BPM shatters the aggregate into dust. The rotating flutes then clear the dust away. It is highly efficient for wall anchors.
Strict Prohibitions
Never apply hammer mode to wood or steel. Wood fibers need sharp slicing. The hammer function delivers blunt trauma. It will cause severe splintering across the board. Metal requires consistent pressure to create metal shavings. Axial impacts will rapidly dull or completely shatter metal-cutting bits. Keep the switch away from the hammer icon unless you face stone.
Real-World Troubleshooting
Sometimes your masonry drilling tool suddenly stops progressing. The chuck spins, the machine chatters loudly, but the hole stays shallow. You likely hit structural steel rebar inside the concrete. Standard masonry bits cannot cut steel. Continued hammering will melt the carbide tip. Stop immediately. Relocate the hole an inch away. Never try to brute-force a masonry bit through embedded steel.
Safety & Implementation Realities: Managing High-Torque Kickback
Power tools command respect. Industrial-grade models generate enough force to cause severe physical injury. You must understand the safety implications of high-output settings. Bypassing safety limits requires strict operational protocols.
The Danger of Disabled Clutches
Operating in Drill or Hammer mode deactivates the protective clutch. The mechanical fuse is gone. The motor will not stop if the bit jams. Imagine boring a deep hole into dense framing timber. The bit binds suddenly. The rotational force has nowhere to go. It transfers directly to the tool body. The entire drill violently spins in your hands. This kickback phenomenon snaps wrists instantly.
Mandatory PPE & Attachments
You must prepare for kickback. For any application requiring 50+ Nm of torque, protective measures are non-negotiable. Wear safety glasses to block flying debris. More importantly, install the manufacturer-provided side handle. This long auxiliary grip gives you massive mechanical leverage. If the bit binds, your two-handed grip safely absorbs the violent twist. Never attempt heavy boring single-handed.
Pre-Adjustment Protocol
Industrial compliance dictates strict maintenance rules. You must eliminate accidental trigger pulls. Follow this step-by-step pre-adjustment protocol:
Remove the battery pack entirely from the tool base.
Place the battery out of immediate reach.
Loosen the chuck to remove the old bit.
Insert the new bit and tighten the chuck securely.
Adjust your mechanical speed gear and torque collar.
Reinsert the battery only when ready to drill.
Skipping these steps risks severe hand lacerations if you bump the trigger while swapping sharp hole-saws.
Evaluation Criteria: Sizing a 20V Brushless Hammer Drill for Your Workload
Purchasing the right tool requires honesty about your actual tasks. Buying excessive power wastes money and tires your arms. Buying insufficient power ruins the tool prematurely. We divide workloads into three distinct categories.
Tool Sizing Comparison Chart | Duty Class | Torque Range | Best For |
| Light-Duty | Up to 25 Nm | Cabinetry, drywall |
| Medium-Duty | 25–50 Nm | Framing, basic masonry |
| Heavy-Duty | 50–80+ Nm | Deep concrete, continuous use |
Light-Duty & Assembly (Up to 25 Nm)
Many homeowners overestimate their needs. If you hang lightweight fixtures, assemble flat-pack cabinetry, or mount drywall, you need minimal force. A standard lightweight driver is sufficient. It prevents stripped screws. Including an impact mechanism here adds unnecessary weight. Avoid paying for a heavy motor you will never utilize.
Medium-Duty & General Contracting (25–50 Nm)
This category hits the sweet spot for ambitious DIYers and general contractors. You build decks. You frame interior walls. You occasionally drill 8–12mm holes in brick for exterior lighting. This workload defines the optimal range for a standard 20V hammer drill. Look closely for models featuring intelligent variable-speed triggers. They offer excellent low-speed control for delicate fasteners.
Heavy-Duty & Structural (50–80+ Nm)
Professional trades face brutal daily requirements. Deep concrete anchoring, continuous foundation work, and driving massive hole-saws demand specialized gear. You push machines to the thermal limit. This reality requires a pro-grade brushless hammer drill. Brushless motors run cooler under stress. Ensure the model includes thermal overload protection, a durable all-metal chuck, and a multi-speed transmission. These features guarantee survival on tough jobsites.
Conclusion
Tool longevity and material integrity depend completely on respecting the inverse relationship between speed and torque. High speeds handle soft drilling, while high torque manages stubborn fasteners and dense materials. Ignoring this physics guarantees broken bits and ruined wood.
Audit your primary materials before starting your next project. Match them exactly to the required torque band (Nm) outlined in our matrix. Moving forward, select a tool class that provides a 20% power buffer above your daily requirements. This ensures your motor never runs constantly at maximum strain. Treat your clutch like a mechanical fuse, and your tools will perform reliably for years.
FAQ
Q: Can I use hammer mode to drill through wood faster?
A: No. Hammering relies on blunt force which shatters wood fibers, ruining the finish and damaging non-masonry bits. Always use standard drill mode for any wood application to ensure a clean, precise hole.
Q: Why is my hammer drill failing to penetrate the concrete wall?
A: Three common causes: Using a standard wood/metal bit instead of a carbide-tipped masonry bit, hitting structural steel rebar, or insufficient tool torque/BPM. Check your bit type first, and relocate the hole if you suspect rebar.
Q: Does pushing harder on the drill speed up the process?
A: No. Excessive manual pressure bends the drill bit, induces critical heat buildup, and prevents the tool's torque and hammer mechanism from doing the work. Let the tool feed naturally and allow the motor to dictate the cutting pace.