Many operators mistakenly believe lower speeds yield a smoother finish. This is a common myth. In reality, grit progression dictates surface smoothness. Speed settings strictly govern your material removal rate and thermal friction. You might be evaluating a new tool right now. Understanding when to adjust variable speed features is critical for your work. Proper adjustment prevents workpiece damage like burn marks or ugly "pigtail" swirls. We want to demystify the mechanical relationship between dial settings, operator technique, and material types. You need a strict, evidence-based evaluation framework to master your equipment. Read on to learn how to balance your pacing and dial settings to achieve flawless surface finishes every single time.
Key Takeaways
Dial vs. Finish: Tool speed dictates material removal and heat generation; sandpaper grit dictates the final smoothness.
The Default Standard: For raw wood finishing, maximum speed (typically 10,000–12,000 OPM) is the baseline standard, not the exception.
Pacing Matters: A precise manual movement rate of 1 inch per second is required to allow the random orbital action to function effectively.
The Suction Trap: Often, "pigtail" swirl marks are caused by excessive vacuum negative pressure, not incorrect speed settings.
The Mechanical Reality of Variable Speed Sanders
You might assume dropping your tool’s RPMs guarantees a finer finish. This is factually incorrect. Lower RPMs do not equate to smoother surfaces. Let us look at single-speed models. Manufacturers permanently calibrate them to roughly 12,000 RPM. This represents the maximum speed on a standard variable dial. High speed combines with a random orbit pattern to effectively hide scratch marks. Slowing the machine down stretches those tight orbits. This exposes the abrasive patterns to the naked eye.
We must understand what the dial actually controls. It adjusts Orbits Per Minute (OPM). Lowering the speed directly reduces the abrasive's rotation frequency. This function gives you more control when using aggressive grits. It also sharply reduces friction-induced heat. Heat is the enemy of delicate surfaces. You only lower the dial when heat generation threatens your workpiece.
Upgrading to a variable speed sander makes perfect sense for multi-material workshops. You need precise control when handling heat-sensitive finishes or thin wood veneers. A high-speed single setting would quickly burn through a delicate veneer. However, this feature might be overkill for rough-framing carpentry. Framing requires rapid material removal where thermal control is rarely a concern.
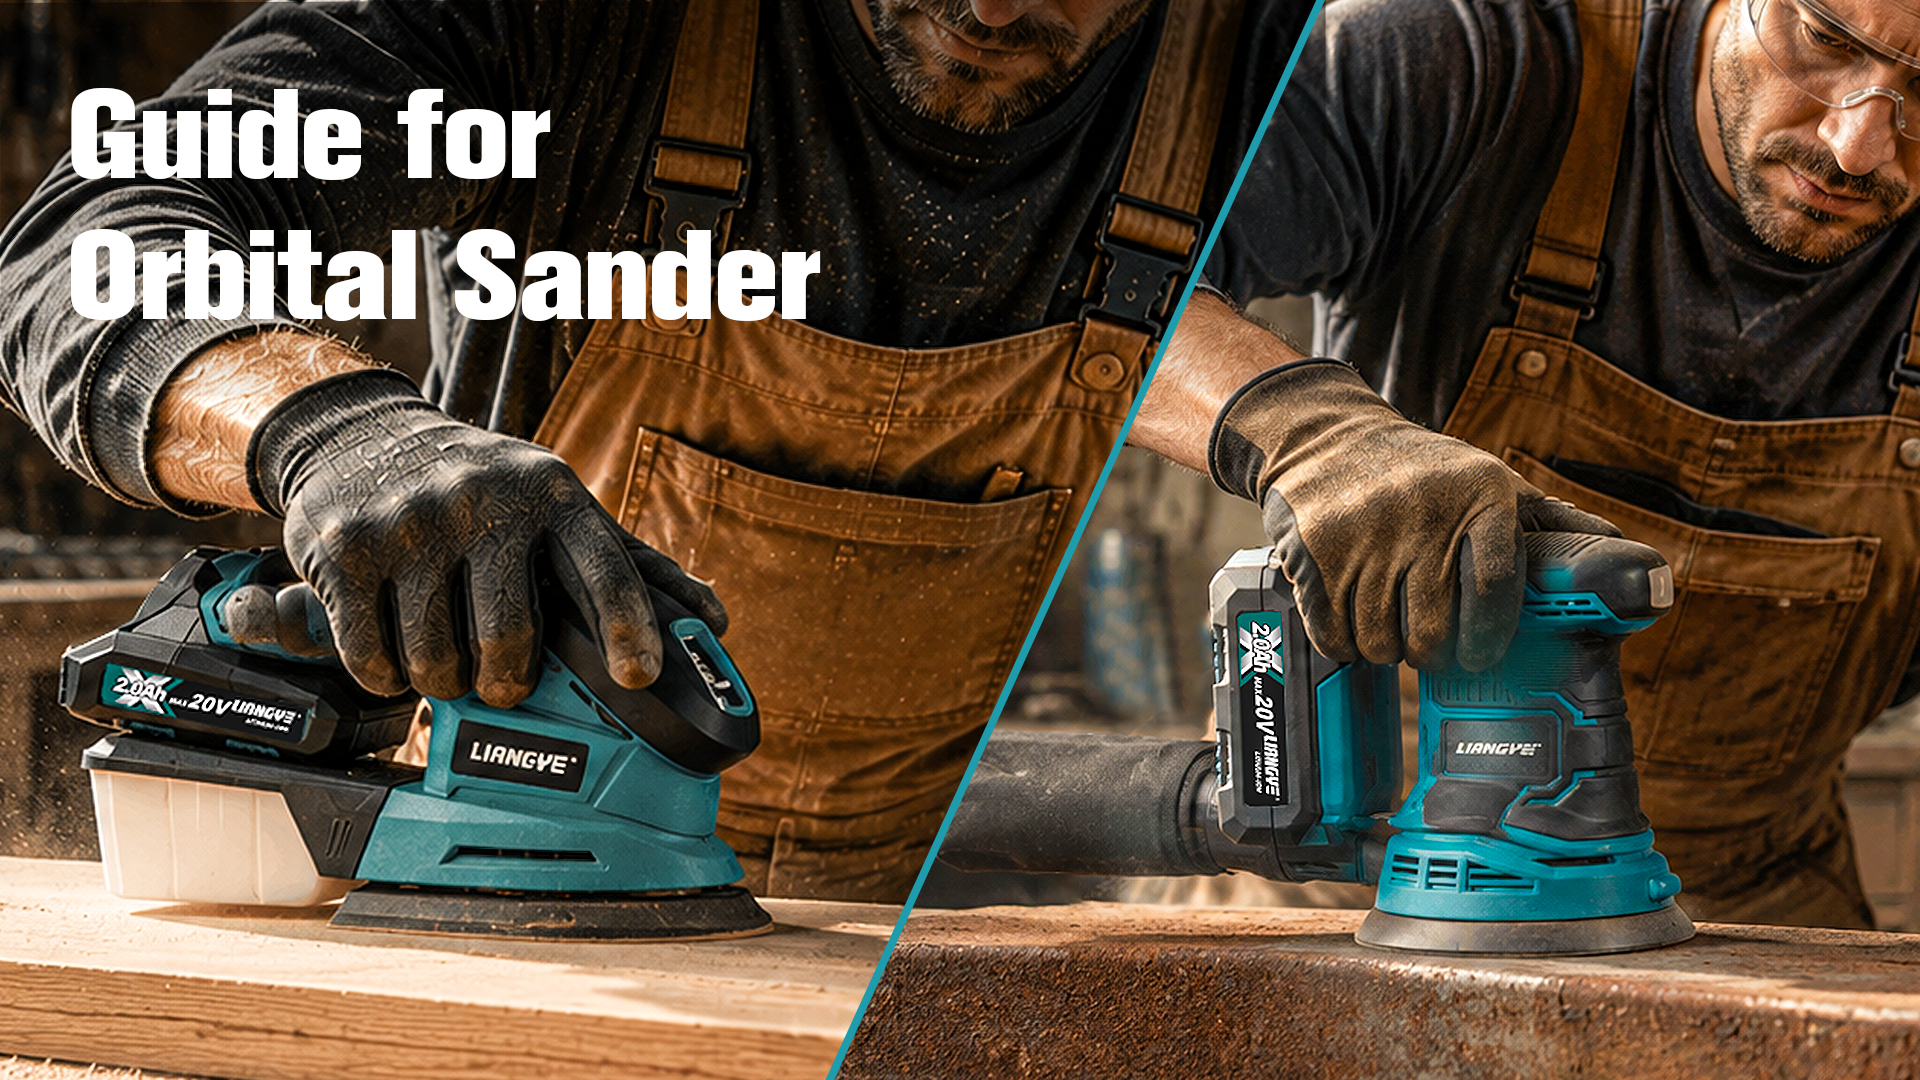
![Operator using a cordless orbital sander on a wooden surface]()
Setting Baselines: Speed Strategies by Material Application
Different materials demand entirely different operating parameters. You cannot treat raw hardwood the same way you treat an automotive clear coat. We have established baseline parameters below. These parameters ensure you maximize efficiency while protecting your base material.
| Material Application | Dial Setting | Estimated OPM | Primary Rationale |
| Raw Wood Finishing | 4–6 | 10,000+ | Maximizes cutting efficiency without bogging down the motor. |
| Sanding Between Coats | 1–3 | 4,000–7,000 | Prevents friction heat from melting paints or varnishes. |
| Non-Wood Surfaces | Variable | Varies | Low for coarse correction; High for 3000+ grit polishing pads. |
Raw wood applications require high speed. You should place your dial between settings 4 and 6. High speeds combine perfectly with the tool's natural physical weight. This combination maximizes your cutting efficiency. It performs the hard work without bogging down the motor. Operating at full speed ensures the random orbital pattern remains incredibly tight.
Sanding between coats or removing paint requires low-to-medium speeds. You must drop your dial to settings 1 through 3. Friction creates intense heat. Heat melts paint, polyurethane, and varnishes instantly. Melted finishes cause abrasive "loading." This clogging renders your 125mm sanding pad entirely useless. It also severely risks burning the underlying surface.
Non-wood surfaces demand variable approaches. Plastics, resins, and auto detailing require strict thermal management. You use low speeds for coarse defect correction. Conversely, you ramp up to high speeds when using ultra-fine 3000+ grit polishing pads. This demonstrates the immense versatility of variable speed tools. Precise thermal control is strictly non-negotiable for synthetic materials.
Operator Technique Overrides Tool Settings
Even the most advanced tool fails under poor operator technique. Industry professionals adhere to the "1-Inch-Per-Second" rule. You must establish this pacing. Moving your machine too fast is a critical error. Rapid arm movements stretch tight orbital scratch patterns. They turn invisible microscopic cuts into visible, elongated spirals.
We must also address the downward pressure fallacy. Applying your physical body weight does not increase cutting speed. It actively destroys your equipment. Heavy pressure creates massive motor strain on a 20V orbital sander. It causes premature battery drain. It disrupts the orbital paths. Worst of all, it melts and destroys the backup pad's hook-and-loop fastening system.
Safe engagement prevents deep surface gouging. You must adopt a strict "Start On, Stop Off" protocol. Follow these specific steps to protect your work:
Rest the tool completely flat on your workpiece before touching the trigger.
Power the tool on and allow it to reach its designated RPM.
Guide the tool across the surface using only its own weight.
Lift the tool completely off the workpiece into the air.
Release the trigger and let the pad spin down completely.
Finally, respect the zero-tilt mandate. These machines are designed strictly for flat-surface engagement. Tilting the tool to act as a grinder is a terrible mistake. It instantly compromises the pad edges. Tilting distributes the RPM unevenly across a tiny surface area. This guarantees deep, unrepairable divots in your material.
Advanced Troubleshooting: Eradicating "Pigtail" Swirl Marks
Pigtail swirl marks frustrate everyone. We must diagnose the root causes correctly. Pigtails are merely symptoms of mechanical failures. They usually stem from three primary issues. You might have trapped debris under the pad. You might be moving the tool too fast at a low speed. You might be experiencing dust extraction failure.
You must understand the vacuum negative-pressure trap. Many operators mate a dust collection sander to an industrial shop vacuum. Excessive suction physically locks the machine to the wood. This crushes the abrasive into the grain. It prevents the random orbit from floating properly. The resulting friction causes aggressive swirl marks.
You solve this by adjusting the vacuum, not the tool. Open the vacuum's suction relief valve. Do not drop the tool's speed dial. Releasing the suction restores optimal orbital float. Consider this troubleshooting checklist when swirls appear:
Check the abrasive pad for trapped grit or hardened resin.
Verify your arm movement pace is exactly 1 inch per second.
Decrease the suction power on your connected vacuum unit.
Ensure you are not applying physical downward pressure.
Confirm the surface is clear of loose dust before starting.
We highly recommend strict inspection protocols. Use a "raking light" to audit your surface. Place a bright light source at a very low angle beside your workpiece. This side-lighting casts shadows into microscopic swirls. It reveals hidden defects immediately. You must perform this audit before progressing to your next grit.
Purchasing Criteria: Evaluating Cordless Sanding Tools
You must evaluate physical ergonomics carefully. Battery placement changes everything. A standard 2.0Ah battery feels very different from a heavy 5.0Ah battery. A heavy battery creates a top-heavy tool balance. This weight distribution directly impacts operator fatigue. Extended finishing sessions become exhausting if the tool fights your natural hand position.
Pad brake quality is a critical feature. Premium tools feature an integrated mechanical pad brake. This brake prevents the pad from free-spinning at maximum RPMs when lifted off the surface. A free-spinning pad acts like an angle grinder upon re-entry. A quality brake mitigates these immediate surface gouges. It is a mandatory feature for any professional cordless sanding tool.
Lastly, assess dust port modularity. You need standardized fitment for dust extraction ports. Seamless integration with existing vacuum hoses is vital. Poor dust extraction leads directly to clogged abrasives and pigtail swirls. Ensure the port securely locks your hose in place without restrictive adapters.
Conclusion
Mastering cordless orbital sander speed settings requires balancing multiple factors. You must align tool RPM with your manual pacing and specific material constraints. Lowering the speed does not create a smoother surface. It merely controls heat and slows material removal. Proper technique always dictates your final surface quality.
Take these actionable steps on your next project. First, baseline your tool at full speed for raw materials. Second, verify your pacing remains at exactly 1 inch per second. Third, strictly reserve your lower speeds for heat-sensitive coatings and finishes. Lastly, let the weight of the machine do the hard work.
FAQ
Q: Can I use a variable speed orbital sander for polishing?
A: Yes. You can equip a foam polishing pad to your machine. You will utilize high speeds combined with ultra-fine grits (3000+). However, understand it operates differently than a dedicated dual-action auto polisher. It lacks the forced rotation required for heavy automotive clear coat correction.
Q: Does skipping sandpaper grits require a higher speed setting?
A: No. Tool speed absolutely cannot compensate for skipped grits. You must maintain a strict, sequential progression (e.g., 80 > 120 > 180). This sequence is the only way to effectively remove the deep scratch patterns left by the previous abrasive.
Q: Why does my sander jump or vibrate violently at low speeds?
A: Violent vibration usually indicates an operator error or a mechanical issue. It is often a sign of excessive downward pressure. It can also point to a damaged hook-and-loop backup pad. Finally, incompatible dust extraction suction might be locking the pad to the surface.


